Showing posts with label projects for toddlers. Show all posts

Thursday, January 17, 2013

Toddler Seat Cover

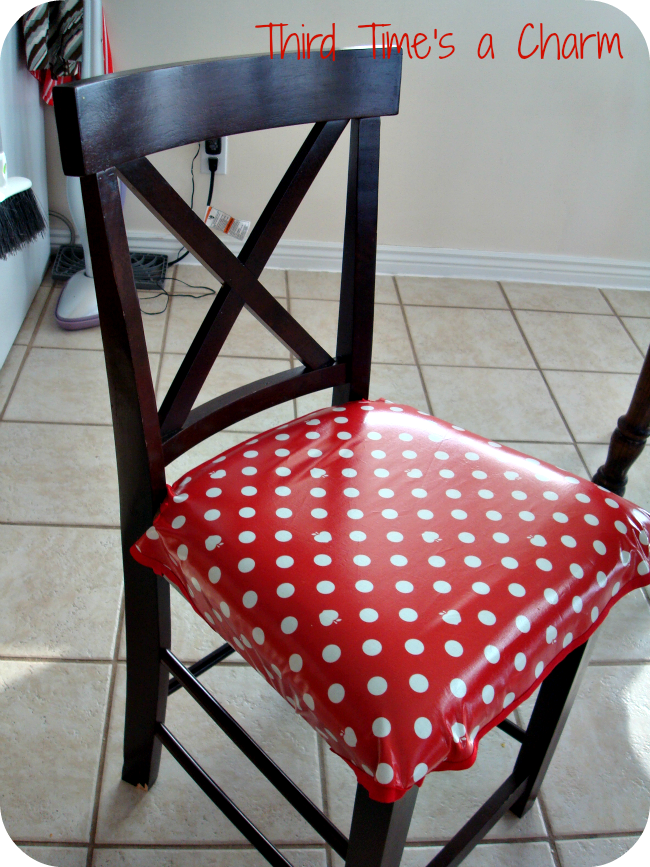
When we were looking to move our toddler out of the high chair, my hubby let me know he wasn't thrilled with the idea of booster seats.  He feels that they aren't that secure and safe.  His solution?  A bar stool with the legs cut down a little.  I was fine with the idea until I started pricing stools, particularly ones with backs.  Yikes!  They get pricy really quick!  Luckily I stumbled on a floor model that was on clearance and snatched it up.

The seat was covered in a micro-fiber like material so I thought it would work out great.  But we noticed it was staining easily and my mom warned me that it would looked well used very quickly.

Enter my husbands idea to make some sort of cover for it.  Of course it was one of those "WE should make a cover for it" statements that meant  "I should make a cover for it."  We'll just assume it was a manifestation of his confidence in my ability.


So I grabbed some PUL fabric on sale, and this is what I came up with.  The design is a combination of  my hubby's idea and my own.  It ties on all four legs, but also has flaps that are long enough to wrap around part of the bottom to be joined with a small bungee cord.  It's been in use for a few days now and it seems to be working out okay.


It stays in place, cleans up easily, and our little one seems to be happy with it.  Better yet, it was one of those one day projects.  Love those.


Wednesday, January 9, 2013

Toddler Quiet Book

Man!  Between the holidays and getting ready for these twins to come I haven't been spending much time on the computer.  And since the twins will most likely be making their grand debut in two weeks there's a good chance that it is only going to get worse.

I do still have some projects to share with you, so we'll see if I can't get one or two in before they rock my world.

Back in September a friend of mine organized 16 of us to make Quiet Books together.  The idea was we would each pick a page to make and we would make 16 of that page.  The organizer made sure nobody was duplicating pages, and was our go to person.  Once they were all made and turned into her, she divided them so that we each received 16 different pages.  Brilliant!  It was easier, faster, and cheaper to do it this way.

The goal was to get the pages to everyone in early December so that they could be put together for Christmas presents.  I decided that I would hold on to mine until the twins came so I could use it as something to help entertain my 2 year old when I have two new babies to take care of.


Here is my finished project finally!  I bought extra Pellon to make the front and page covers.  I covered them with some fun fabric and hand sewed on the foam letters.  I tried using my sewing machine, but I didn't like the look of it.  Of course!  Don't we all tend to prefer the look the more complicated methods give us.

I put some eyelets in each page then joined them with metal rings.  Even with 1 1/2 inch rings I couldn't fit all of the pages.  I figured I could switch them out every so often to help revive her interest in it.


There were some fantastic pages made: Barnyard Finger Puppets, Tic Toc Clock, Abacus, Match the Socks, and many more.  I decided to do the Peek-a-Boo Mittens page.  I'll be honest, I wanted to pick one that was cute, but not too difficult to do.  I'm still amazed someone chose to do the Barnyard Finger Puppets 16 different times.  Wow!


I wanted the kids to be able to put their hands in the mittens if they wanted.  So I made a few trial sizes and tested them out on my little one.  I wanted to embellish the mittens somehow, but again, didn't want to make it too time consuming.  So I chose a decorative stitch on my sewing machine and went to town.


Rather than buying photo pockets which were a little more costly than I liked, I cut page protectors down to the size I needed and sewed them on with a zig zag stitch.  I ended up getting four photo pockets out of one page protector.  Not bad, huh?


Then for the wording I didn't want to write "Peek-a-Boo" sixteen different times.  Lazy, huh?  So I used my method for printing Fabric Labels and printed it out on fabric then sewed it on to the page.


I finished it all off with some cute little snowflakes I bought from JoAnns and there you have it!  A fairly simple, but cute version of Peek-a-Boo Mittens.


I still haven't given the book to my toddler yet.  Hopefully it will provide hours of fun, educational play to help keep her entertained!

P.S. - If this post is full of typos, it's because I was playing pretend with fish, horses, cars, and ducks with my toddler as I typed it up.  Where would we be as moms if we couldn't multi-task?

Wednesday, October 24, 2012

Knit Toddler Pom Pom Hat

What's this?!!  Could it be?!!  Yes!  I'm actually posting a finished project!  Summer was full of gardening, family fun, and other projects that kept me away from the computer.  One project was a transforming a small sitting room into a library.  More on that to come.

For now I want to share this adorable hat with you all!


Poor kid is sick, but she still managed a smile.

I thought my little one needed a new winter hat with the cold weather approaching.  I found this pattern in a book and thought it fit her fun little personality to a "t"!


She loves it, and looks pretty dang cute in it!

Monday, June 18, 2012

Toddler Flared T-Shirt


As the weather begins to heat up I've been searching for more t-shirts for my little girl.  As I open her drawers, I find there aren't that many in there!  So in the true DIY attitude I decided to make some instead of buy them!

I took one of her basic shirts and set to work making a pattern from it.  I don't have pattern paper so I used old wrapping paper.  It works great except for the fact it keeps wanting to roll up!

I traced the front, back and sleeve of the shirt onto the paper the best I could and added a quarter inch seam allowance.

My mom's been cleaning out her fabric stash, and lots of it is finding it's way to my house.  I picked out some of the cute cotton she brought over and started tracing and cutting away.

As I started to sew the bodice together I was encouraged and excited.  Then I put it over my little ones head to test it.   Uh-oh.  It went on okay, but it was a stinker to get off of her!  The material I chose had no stretch to it.  And as many of you know, that's a VERY undesirable trait for a toddler shirt.  Especially for my little girl.  She has a big head!  Seriously!!  We're talking in the 90th percentile!

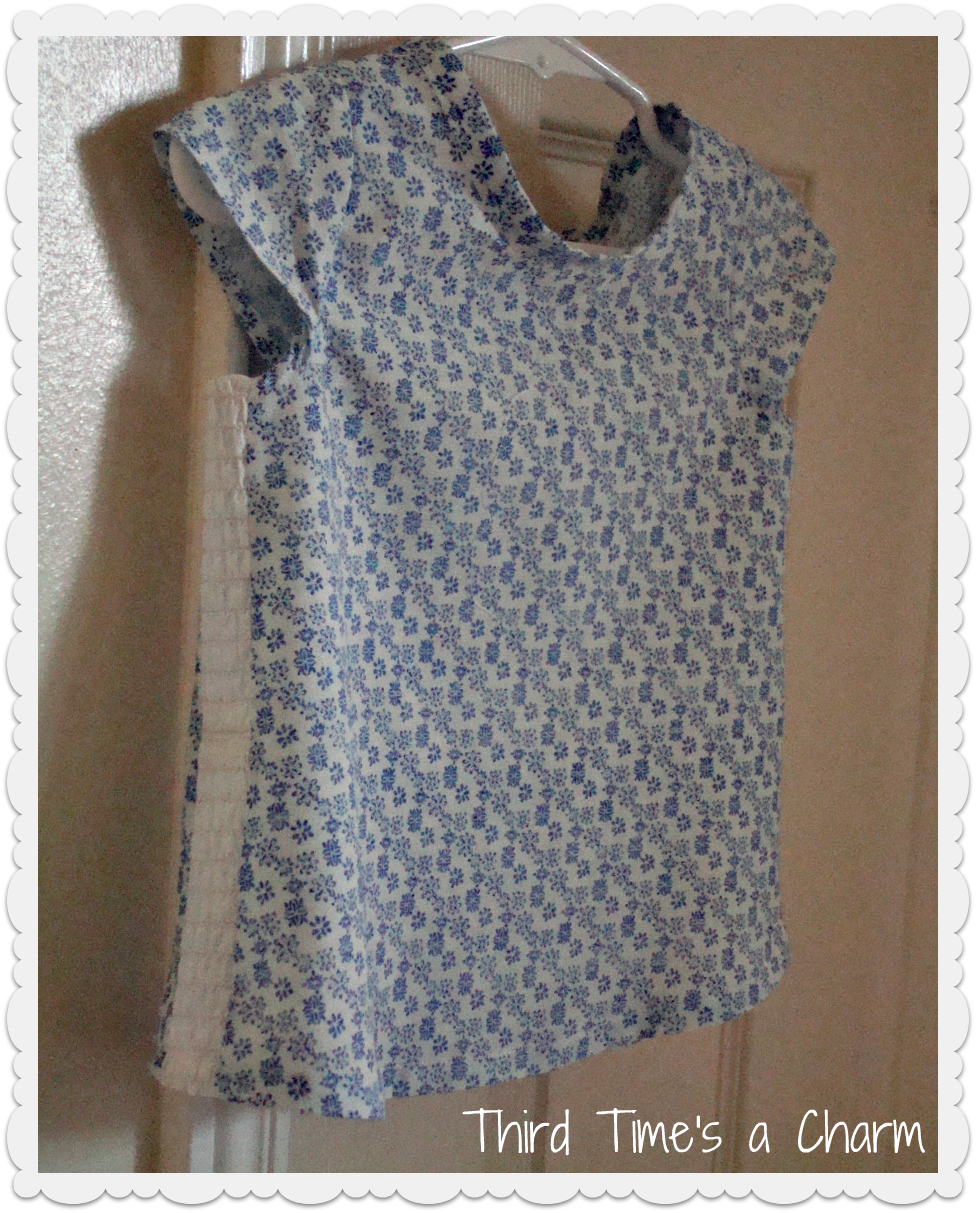
You can see some of that stretchy material on the side in this photo.

So after thinking about the problem for a day or so, and talking to my mom about it I came up with a solution.  My mom had also brought me some white gathered elastic material that's meant to be used at the top of skirts.  Perfect!  I had to sew two strips together to make it long enough, but it worked great.  I added it to each side seam and it gave the shirt just the right amount of stretchiness so that it easily goes on and off.

I made my own bias tape from the same material to go around the neck.  I know I could have used some white bias tape, but I liked the matching look better.  I attached a button on one side, then rolled up a small piece of fabric to create the loop that attaches to the button.  A simple way to create a clasp for a shirt.


And now for the fun part.  You know, the part where I try to get a picture of the two year old wearing the shirt.  Ya right!  Here were some of the first attempts....


And finally the money shot.  Phew!


I haven't had a chance to make another one yet, but if I do maybe I'll try to come up with a tutorial...

Sunday, June 3, 2012

Elmo Cake - Tutorial


My little one just turned two yesterday. Two!!  I can't believe it!

I have a little cake book with instructions on how to make different shaped cakes.  I picked two out I thought she's like and asked my husband which one he thought would be best.  He said, "Elmo."  That wasn't one of the options.  :)  But he was right.  She would really like an Elmo cake.  Elmo's World is her favorite part of Sesame Street.


So I looked online for ideas of how to make an Elmo cake.  Know what I found?  That most people bought and Elmo shaped cake pan.  I was NOT about to by a special cake pan for one cake.  So here's what I did.  Sorry, I don't have many pictures.  I didn't think to take them as I was making it.  I'm not an expert on cake making; this is only the second shaped cake I made but I'm happy to share what I did.

I cooked a 8" round cake, and let it cool over night.  The next morning I took a long serrated knife (I used my long bread knife) and cut off the rounded top and made it flat.  Next I put it in the freezer for about 45 minutes.  This helps firm up the cake for the shaping process.

You can see some of the holes from the toothpicks in this picture.

I printed out a face picture of Elmo just a little smaller than the cake, and cut it out.  Then I placed it over the cake and put toothpicks in some of the outlines of the eyes, nose and mouth.  This served two purposes.  It held the picture in place, and started to make an outline of those features.

Then I used a serrated knife (this time I used a steak knife) to cut around the shape to make the basic outline.  I cut some of the jags of the fur, but found as I was frosting it this wasn't necessary.  The frosting helped make the appearance of fur, so I could have just cut the bottom outline rounded, not jagged.

In this picture you can see some of the scored outlines I made for his facial features.

Next I took the paper off by sliding it over the toothpicks and leaving them in place.  I then used my knife to score the outline of his features.  They weren't all visible,  but it helped.

I then made my buttercream frosting and but a several spoonfuls in a separate bowl.  I thinned this portion out a little more with milk for a base frosting.

A word on base frosting.  I'd never used a base frosting before, but decided to give it a try.  The idea is you put a thin layer of frosting on before the decorating layer.  It is supposed to help hold in the crumbs so they do not show through your decorated layer.  I wasn't sure if it worked until I tried doing my decorating frosting on some of the edges that I missed with base frosting.  It DEFINITELY made a huge difference.  The areas I missed with the base frosting were crumbling and falling apart.  Also, my little cake book has a separate recipe for base frosting, but I didn't want to make two kinds of frosting so I just thinned out some of my buttercream and it worked okay.  {Call me lazy.}

Let the base frosting dry for 20 or more minutes.  During this time I started to make some of my colored frosting.  For the each color I put the amount I would need (guesstimated) in a separate bowl to mix it.

For orange I used liquid food coloring: one part red, three parts yellow.

For black I bought a tube of decorating black.  I cheated.  :)

For red I bought some red food coloring paste.  I've tried the liquid and gels before and they just create a dark pink no matter how much I put in.  With the paste I was actually able to get a nice red.  It did take quite a bit though.  It helped that I was only doing a small amount rather than the whole batch of frosting.

Because I only put a thin layer of base frosting on I was able to still see a lot of my scored outlines of his features.  The rest I was able to fill in by looking at the picture.

First I frosted the orange nose, then the white eyes.  When doing this parts I started by putting the majority of the frosting in the center of the area and carefully spreading it to the edges.

This shows the base frosting with just the nose with colored frosting.
I used my black tube to do the pupils.  I only made the outline and it came out thick enough that I was able to carefully spread the line inward to fill in the circle.

Next I made the outline of the mouth, but I suggest NOT DOING THIS YET!  I wish I would have frosted the whole area below the nose and eyes red and then frost the mouth on top of it.  The way I did it I kept getting black frosting smeared in my red.

When spreading the red frosting, make sure it's a little thicker.  This allows you to put it on textured so that it looks like fur.  It's nice that you don't have to worry about putting it on smooth in this instance.

I filled in the mouth similar to how I filled in the pupils.  I made extra lines with the black tube inside of the mouth outline then carefully spread them around to fill it in.


Wahlah!  An Elmo Cake!


Sunday, November 6, 2011

Toddler Delaney Dress - A Success!


Do you ever watch DIY shows and find yourself completely pulled in.  You watch the host do amazing projects that they swear are so simple even a five year old could do it.  As they build you up telling you how easy it is and how it can be completed in just an afternoon you find yourself forgetting that they have dozens of people on their staff making it happen and thousands of dollars to put into it.  You rush from the T.V. thinking "Yes! I'll go get the materials for the project right now!  And mine will look just like the professionals!"

A week later, after countless trips to the store and spending five times the amount of money it should have taken you finally finish the project and it looks NOTHING LIKE THE PROFESSIONALS!!  You're beaten down for the moment, but you forget all of the misery and find yourself repeating the experience a few days later.

That is how my Delaney Dress started.  It's a free tutorial on luvinthemommyhood.com.  It's adorable and a simple design.  After looking it over I thought, "how difficult could it be?"  I managed to make it difficult.  Here's a brief summary of my mistakes/redos.

1. Cut out the bodice 2 1/2 times
2. Cut out the sleeves and skirt 2 times
3. Sewed one sleeve on twice
4. Tried it on an unhappy, squirming toddler at least 3 times

Okay, maybe that doesn't seem too bad.  Here's the break down.

After printing out the pattern I was concerned it wasn't going to be quite big enough.  The pattern is made for little girls roughly 1-2 years old.  We all know that there is a lot of variation in that age range, so I can understand why it would be difficult to have one pattern for everyone.  I'm only 5 feet tall and my husband's all of 5 ft 8 inches, but somehow we got a little girl that has consistently measured in the 80th and 90th percentile for height.  So I increased the pattern to 105% on my computer and reprinted it.

After I got the bodice put together, I tried it on my little girl (1st time).  She was not happy, and understandably so as it was uncomfortably tight.  So I increased the pattern to 125% and started over.  I cut out the bodice again, but when I went to sew it together I had cut out two fronts and no back.  Oops!  Hence the 1/2 extra time of cutting out the bodice.   All this was worth it though, because it fit much better at 125%. (2nd time trying it on her.)  The increase in size is the reason I cut out the sleeves twice as well.  Once at 105% and once at 125%.  As I was sewing on the sleeves I realized this was the first time I had ever done sleeves before.  It was trickier than I imagined.  Especially when it came to overlapping the points and making it look good.

She was not happy about putting it
on so I had to bribe her with a cookie...
And the dog.
Once done I checked out my work and noticed the bodice tucked in funny underneath the arms.  I was hoping it wouldn't be so noticeable on my little girl.  Time to try it on her again!  (3rd time)  She wasn't happy about it, and the tuck was VERY noticeable and made it tight around her arms.

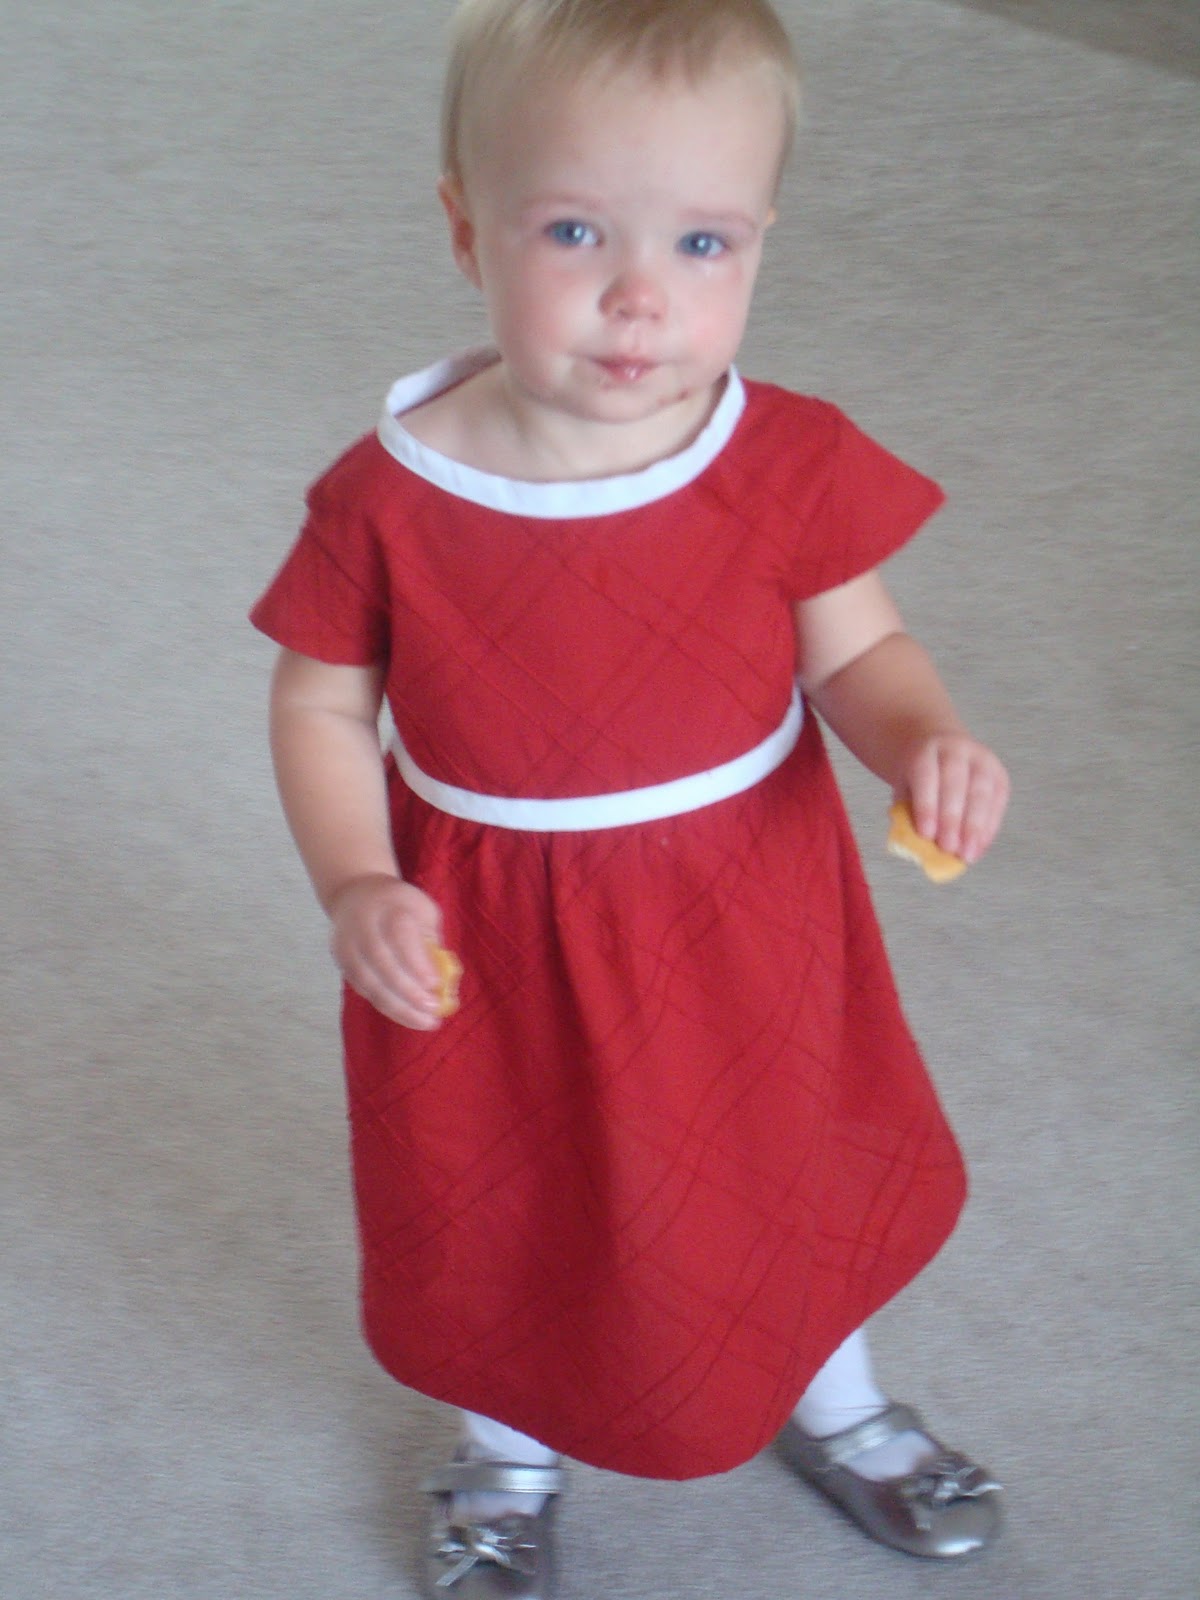
A little while later and A LOT of unpicking later I had that problem worked out.  Once I sewed the skirt on I realized I hadn't adjusted for the larger size enough and that it didn't have enough ruffles.  Soooooo, I cut out a second larger one.  (Did I mention I was wise enough to buy an extra 1/4 yard of fabric?  Thank heavens!!)  The second skirt worked much better and I have to say I am very happy with the end result.  I think it was worth all the recutting!  I purposely made it a little loose on her and with an extra long hem so it will hopefully last a while before she grows out of it!  (Maybe two whole months... :s)


Thursday, November 3, 2011

The Vacuum Ate My Ruffle


 I found an easy tutorial for a little girl's ruffled skirt Sew Much Ado.  It's repurposed from old t-shirts.  Genius!  I made a few for my little girl, then proceeding to make some for a niece.  I was to the point where the main body of one skirt was done, and the ruffles were made but not attached.  It was all laying out on my table waiting for me to finish it.

There's a tutorial for the leg warmers on the same site.
In the meantime, I got the itch to clean up my sewing room a bit.  Some days it's hard to tell if it's more sewing room, or more playroom for my 17 month old.  I was vacuuming the floor, and thought I mind as well vacuum some of the threads and scraps on my table using the hose.  I, of course, was being careful to not get too close to any of my projects.  Apparently not careful enough.  Before I knew it one of the ruffles was sucked into the abyss of the vacuum.  Luckily, my vacuum bag was so full I didn't have to dig too far to find it.  To my surprise I had unknowingly vacuumed up a second ruffle as well!

A little cleaning and they were ready to be attached to the skirt, and safe from the vacuum.


Here's a shot of the cute skirt in action.