

I took one of her basic shirts and set to work making a pattern from it. I don't have pattern paper so I used old wrapping paper. It works great except for the fact it keeps wanting to roll up!
I traced the front, back and sleeve of the shirt onto the paper the best I could and added a quarter inch seam allowance.

My mom's been cleaning out her fabric stash, and lots of it is finding it's way to my house. I picked out some of the cute cotton she brought over and started tracing and cutting away.
As I started to sew the bodice together I was encouraged and excited. Then I put it over my little ones head to test it. Uh-oh. It went on okay, but it was a stinker to get off of her! The material I chose had no stretch to it. And as many of you know, that's a VERY undesirable trait for a toddler shirt. Especially for my little girl. She has a big head! Seriously!! We're talking in the 90th percentile!
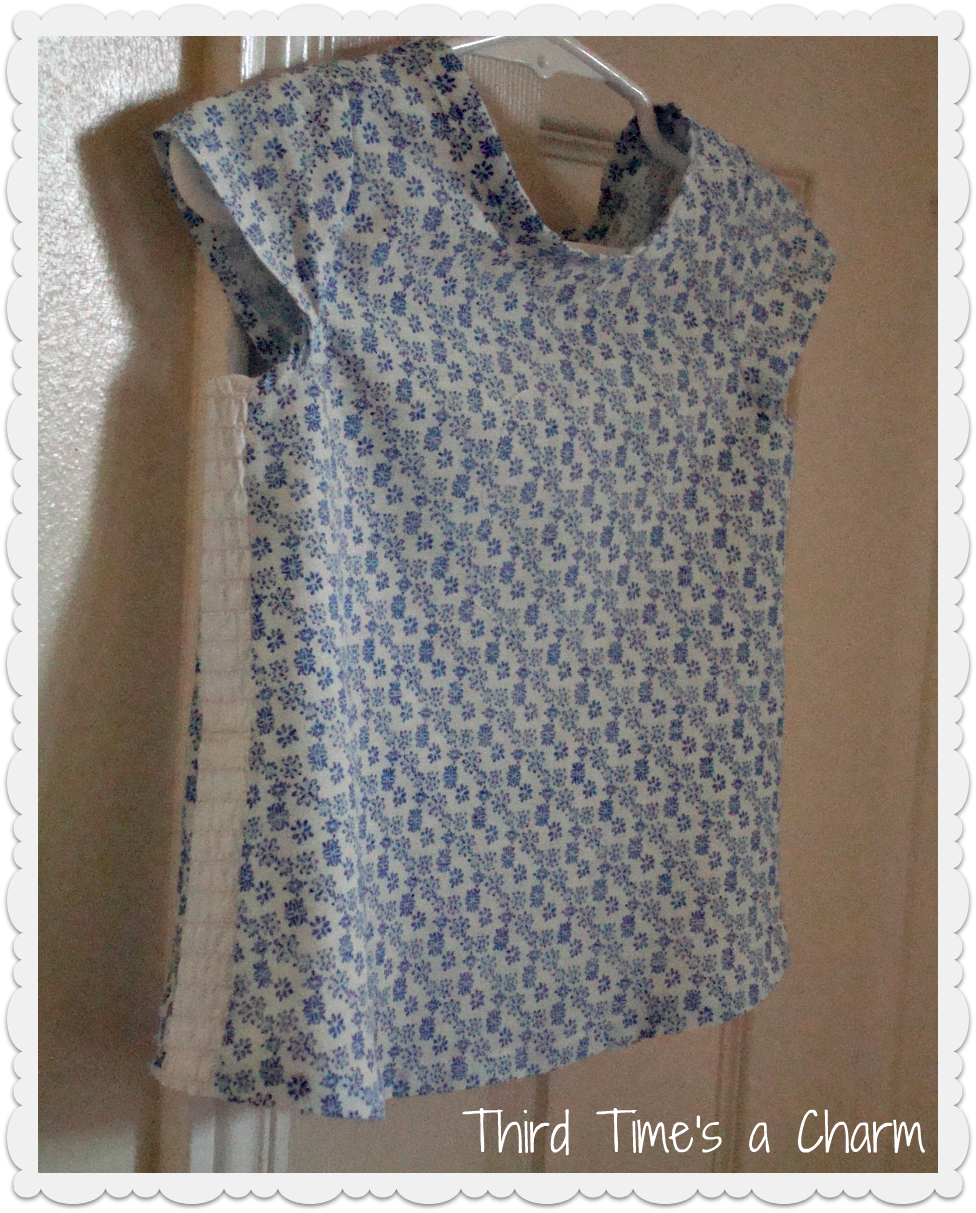 |
| You can see some of that stretchy material on the side in this photo. |
I made my own bias tape from the same material to go around the neck. I know I could have used some white bias tape, but I liked the matching look better. I attached a button on one side, then rolled up a small piece of fabric to create the loop that attaches to the button. A simple way to create a clasp for a shirt.

And now for the fun part. You know, the part where I try to get a picture of the two year old wearing the shirt. Ya right! Here were some of the first attempts....

And finally the money shot. Phew!

I haven't had a chance to make another one yet, but if I do maybe I'll try to come up with a tutorial...
So, so sweet and looks easy to make!!!
ReplyDeleteAbsolutely precious (the shirt is wonderful, too;)! So glad I found you at Live. Laugh. Rowe.'s blog networking party.... I have a little girl, too! This would be precious for her!! I may just have to try! Would love to have you visit my site soon...
ReplyDeleteHope you're having a wonderful start to your week!
Your newest follower,
Heather
stringtownhome.blogspot.com
You are to talented! And Indy looks so adorable!!! Miss you all!
ReplyDeleteThis is so cute, thanks for sharing!
ReplyDeletewww.blissfulsewing.blogspot.com
what an adorable shirt! i'll have to make a similar one for my niece! New follower, can't wait to catch up on your posts :)
ReplyDeleteGreat work on the t-shirt - and what a good save with those side elastics!! Brilliant! I'll have to remember that!
ReplyDeleteThanks for linking to a Round Tuit!
Hope you have a fabulous week!
Jill @ Creating my way to Success
http://www.jembellish.blogspot.com/
Wow great job, what a cutie!
ReplyDeleteThis dress is so cute,thanks for sharing!
ReplyDeletewww.blissfulsewing.blogspot.com
what a cute top! just discovered your blog and I love it! I'm your newest follower - hope you can check me out too! xo
ReplyDeletehttp://allthingsprettyandlittle.blogspot.com/